Varnishing is an extremely effective way to ensure the longevity of your artwork, protecting it from the environment and evening out the appearance of the final painting.
Artfinder artist Joe Papagoda offers his top tips to achieving varnishing success.
1. Start with a high-quality flat paintbrush
I suggest a brush with synthetic bristles. I find that they stay together well, and are the easiest to keep clean - which is another thing. Make sure the brush is spotless before you begin. Wash it and dry it lightly with a paper towel, and watch out for dust, dirt, and loose hairs.
I've been using a 3″ freestyle paddle brush for quite some time now, and I feel that it's ideal for varnishing.
2. Make sure the painting has dried and cured
I've witnessed some gloss varnishes act almost like a paint remover, lifting up paint that hadn't been given the proper time to settle. Give your painting plenty of time to dry.
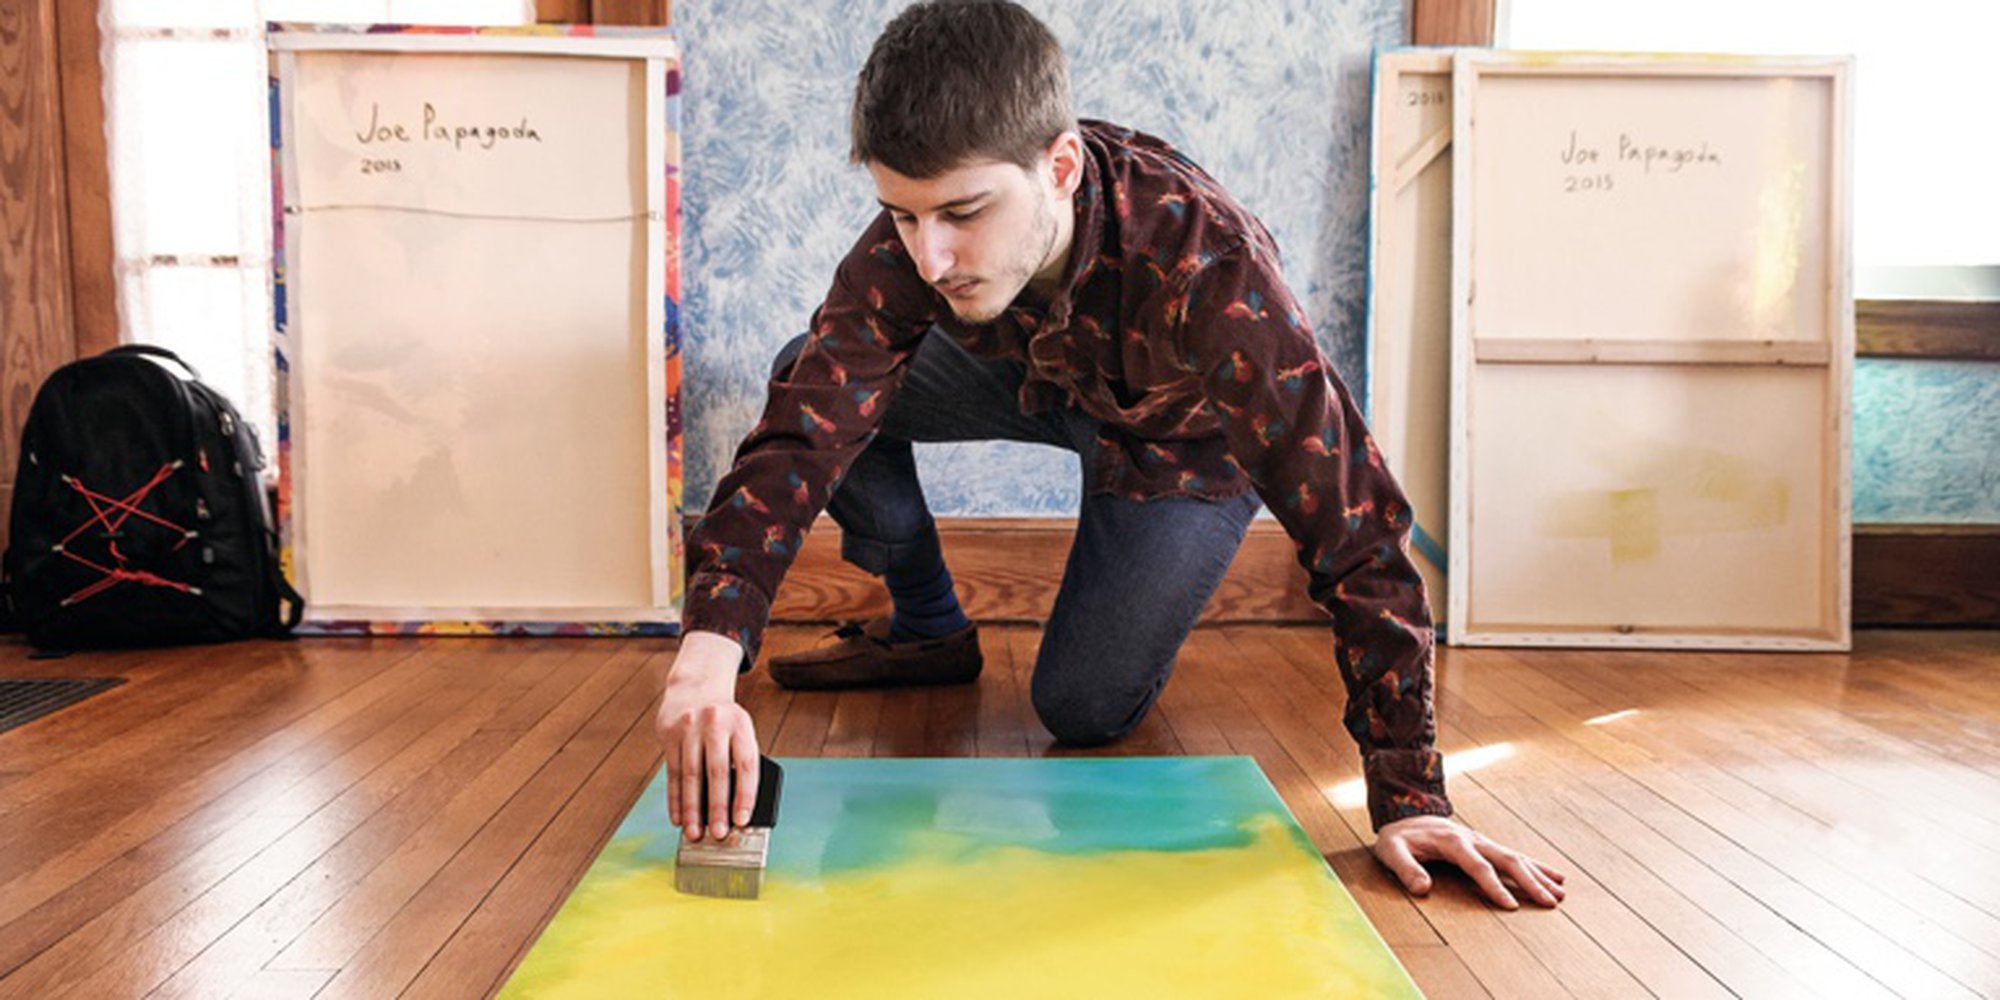
3. Gently clean the surface of your painting
Wipe your painting down gently with a paper towel, or another clean paintbrush to make sure no dust, dirt, or hair gets caught in the mix.
4. Don't use too much varnish
Pour your varnish into a paint palette or container large enough to easily dip your brush in. Wipe off excess varnish from your paintbrush. This way you will avoid varnish dripping onto the painting or applying too much.
5. Apply your first coat in one direction
Set your painting flat and begin brushing from left to right. Continue adding varnish in that direction as you work up the canvas in straight even rows. After each row is complete you could lightly brush all the way back from the opposite direction to help spread things evenly.
6. Allow the first layer of varnish to dry
Once you've applied the first coat keep the painting flat. I wouldn't prop it back up. This should help the varnish settle uniformly. Let this coat dry for 1 to 3 hours.
7. Apply the second coat in the opposite direction
This time apply your varnish from right to left. You'll find that this coat fills in any areas that got missed in the first coat. After this step you might want to apply one more coat for a more uniform finish
Again be sure your brush is totally clean, you'll want to wash it after the first, and second coat, and then let your subsequent layers of varnish dry for 1-3 hours. After that, you're done! You shouldn't see any brush strokes, any uneven lines, or any uneven areas that glares will bring attention to.
I never apply more than 2-3 coats of varnish as too many layers of varnish can create a foggy effect, as can too much varnish in one area. Always follow the label on the varnishing product - it may require shaking or stirring before use - and apply the varnish at a comfortable room temperature for even drying.
How do you like to varnish your paintings? Let us know on the Forum